Motivation
In the manufacturing sector, the usage of OPC UA is very common. Its data extraction and processing capabilities make it one of the best protocols to understand what is happening with the machinery in the factory. A few days ago, I found myself talking to someone responsible for innovation in the manufacturing sector, and he mentioned by passing a simple, but great example of usage of OPC UA. Imagine that you are responsible for preparing plastic for a certain shape you need. While melting it and adding chemical compounds, you need to guarantee a certain temperature and viscosity. If anything is different than expected, the plastic might end up too soft, too stiff, or too brittle. By having proper data visibility, we can have those responsible for the factory floor aware if any of the metrics are off, and if they are, we can show them how to correct it. For example, if the temperature necessary is 67 Celsius, we can notify them if it is above or below, and let them know what should be the correct one.
I loved this problem because it is a simple and direct one, and I started thinking about how I could mimic it with some gadgets I have at home. While looking at my toolset, I found some cheap, but probably more expensive than most sensors.
The Problem
Because I don’t have anything close to melting plastic in my office, I decided to tone it down. A close comparison to a thermometer is a light sensor. Both provide numbers that are readings from the real world. I decided to create a device that would:
- Read the light level of my office using a light sensor and an Arduino
- Send the data to an OPC UA client working inside a Raspberry PI
- Have the client sending the information to the OPC UA Server
- Upload the data to a MongoDB database hosted in MongoAtlas
- Show this data in a dashboard
The Solution
Let’s Start with the Definitions
What is OPC UA?
OPC UA stands for Open Platform Communications Unified Architecture. It is a machine-to-machine communication protocol for industrial automation developed by the OPC Foundation. Its purpose is to provide a standard way of accessing and collecting relevant information from hardware devices.
Key Aspects of OPC UA
- Platform Agnostic: It is designed to be platform-independent, meaning it can be used in different systems and devices.
- Security: It offers built-in security functionalities including certificates for authentication, and encryption for data privacy.
- Scalability: Suitable for both small and large applications.
- Sophisticated Data Modeling: OPC UA allows the creation of sophisticated data models with its information modeling capabilities. It can represent both the data and the relationships/semantics of the data.
Components of OPC UA
Server
- Responsibilities: The server’s primary responsibilities include connecting to devices and systems using protocols such as Modbus, TCP/IP, or proprietary protocols offered by the device manufacturers.
- Data Collection: It can collect data by using polling mechanisms, where the server requests data from the devices every X seconds, or through subscriptions where the devices notify the server of new data.
- Data Processing: Once the data is collected, the server provides mechanisms for processing and storing this data, making it accessible in a structured way.
Nodes
- They are the smallest units of data and can represent a device, a data type, or an object with multiple values. For instance, a thermometer device could contain several nodes that would represent: Temperature measurement, measurement unit, status information, methods that could be called upon this device, and others.
Address Space
- It represents a set of nodes in an organized manner. For instance, it could represent a set of thermometers of a climate control system in a building.
Services
- Services are mechanisms through which clients can perform operations on a server’s address space, such as reading and writing data, monitoring variables for changes, managing subscriptions for event notifications. Examples include discovery services, session services, node management services, data access services, and others.
Gadgets
- Arduino Uno or similar
- Raspberry PI
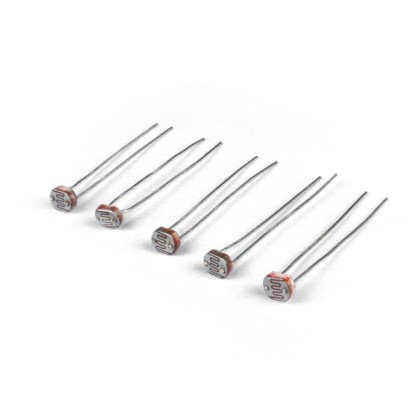
- Light sensor
- Connection cables
Configuration
Before I get to the configurations, you should know you can find all the code in the following repositories
Arduino
Raspberry
I’m using a basic Ubuntu for RaspberryPI configuration.
Dependencies
Let’s start by installing NodeJS
curl -sL https://deb.nodesource.com/setup_20.x | sudo bash - sudo apt-get install -y nodejs
With your Raspberry ready, we need to configure the Arduino and connect it to the Raspberry board
Arduino
1. Setting up your Arduino, this is what we’re going to use:
- 1x Arduino Board + USB Cable
- 1x Protoboard
- 1x 5mm LDR Light Sensor
- 1x 10kΩ Resistor
- 5x Jumpers

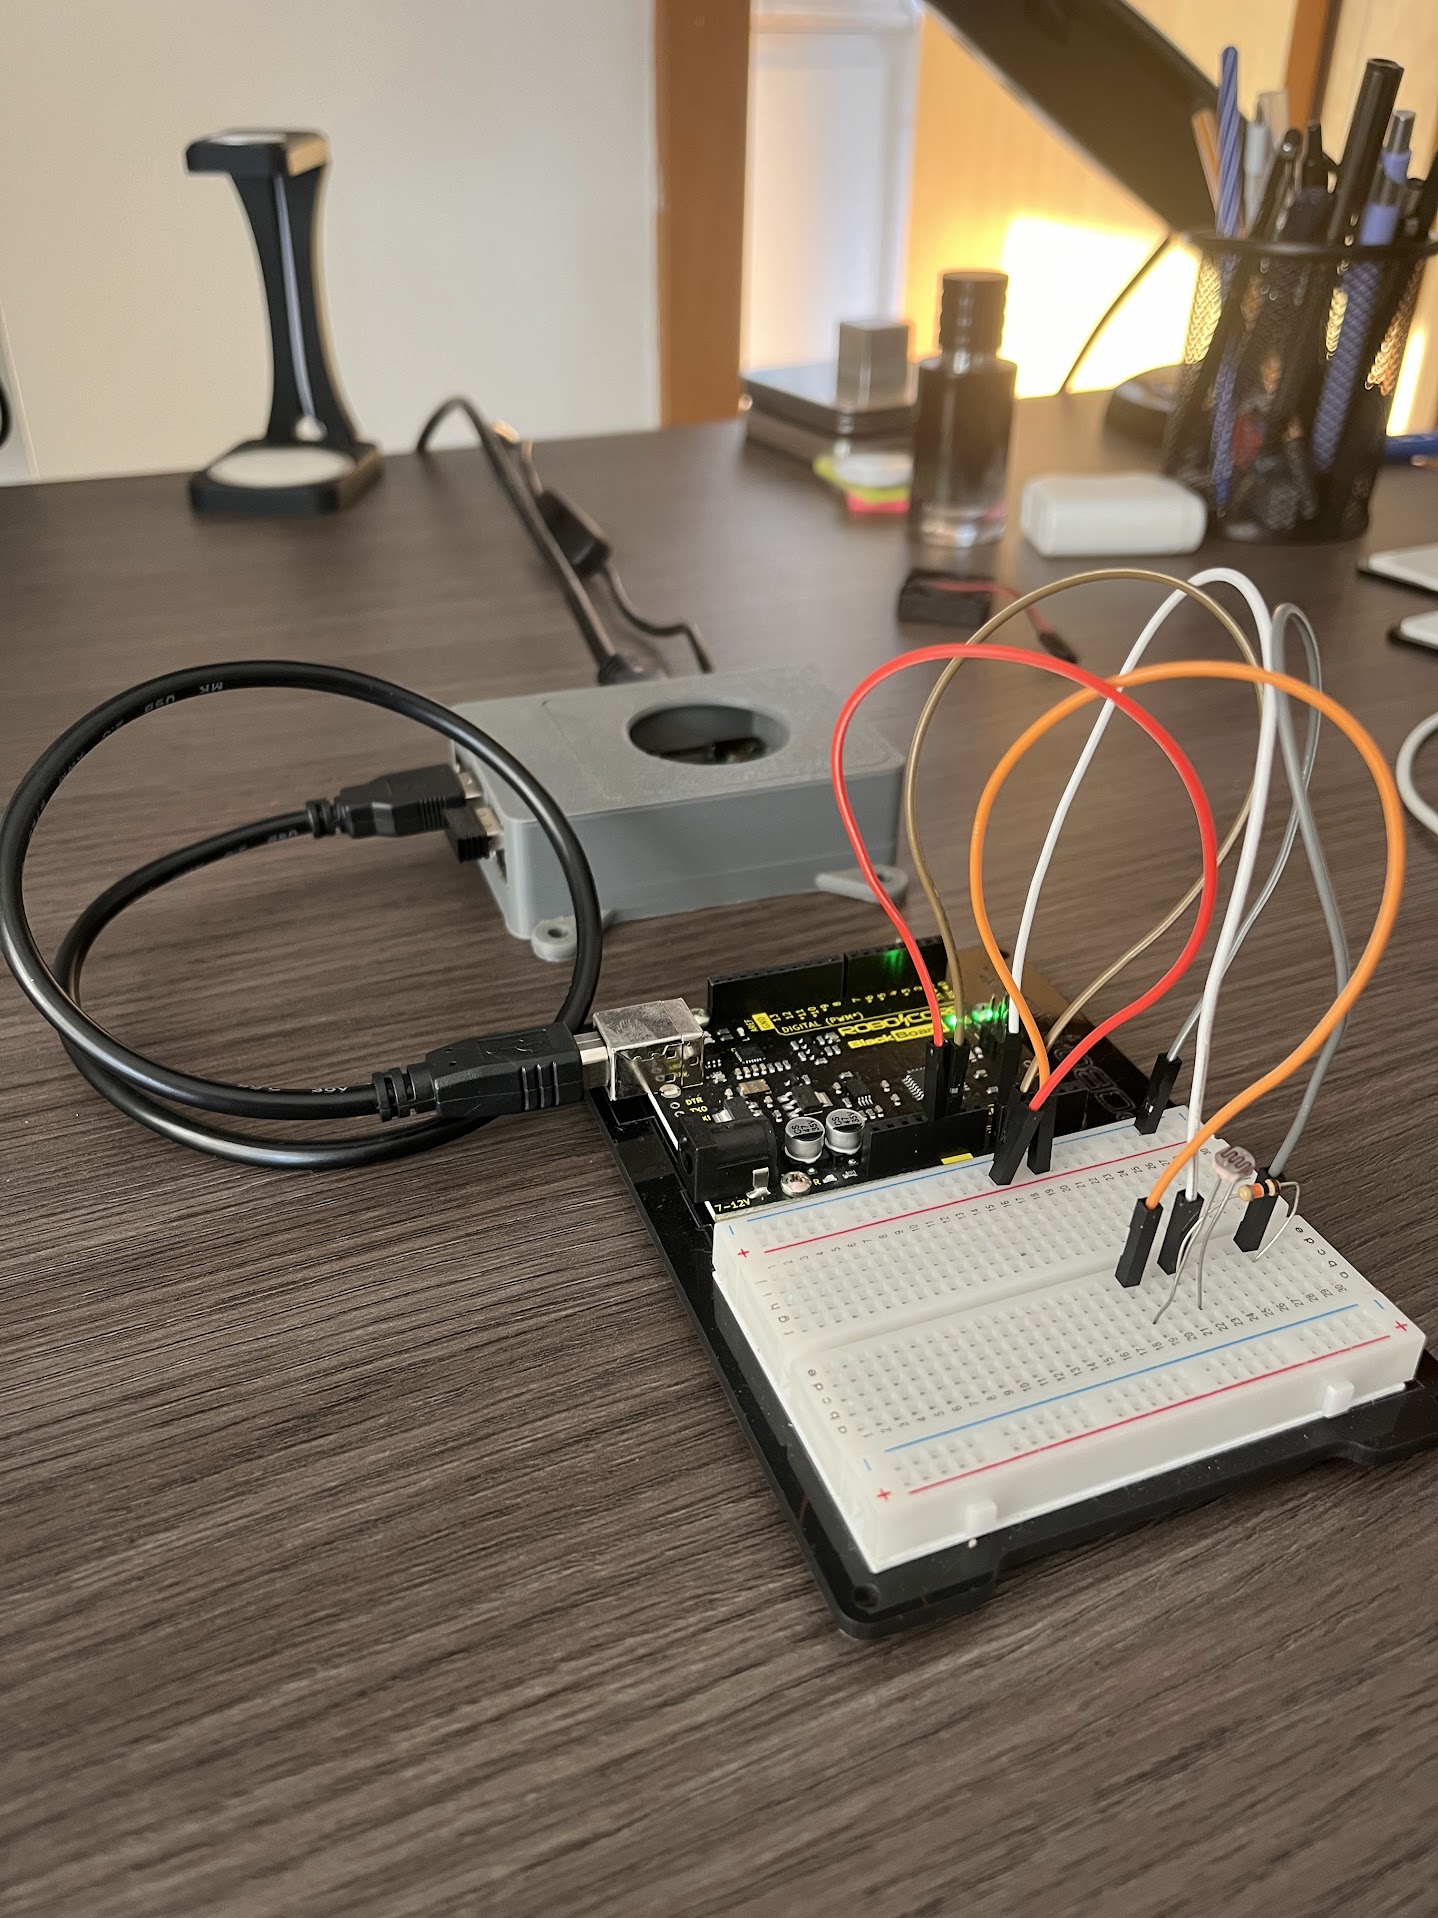
Your Arduino configuration should look like the one below:

Here you can see mine:

2. Upload the following content to your Arduino
const int pinoLDR = A0; // pin where the LDR is connected
int readValue = 0;      // variable to store the ADC read value
float voltage = 0.0;    // variable to store the voltage
float lux = 0.0;        // variable to store the estimated lux value

void setup()
{
  // Starts and configures Serial
  Serial.begin(9600); // 9600bps

  // configures the pin with LDR as input
  pinMode(pinoLDR, INPUT); // pin A0
}

void loop()
{
  // reads the voltage value on the LDR pin
  readValue = analogRead(pinoLDR);

  // converts and prints the value in electrical voltage
  voltage = readValue * 5.0 / 1024.0;

  // Simple approximation to convert voltage to lux
  // This formula needs to be calibrated for your specific LDR and setup!
  // Here we use a placeholder formula that assumes linear relation, which is not accurate.
  lux = voltage * 100; // Example conversion, adjust this formula based on your LDR's characteristics

  Serial.print("Voltage: ");
  Serial.print(voltage);
  Serial.print("V\t");

  // prints the estimated lux value
  Serial.print("Lux: ");
  Serial.print(lux);

  Serial.println(); // new line

  delay(1000); // waits 1 second for a new reading
}
3. Connect your Arduino to your Raspberry PI through a serial cable
Server
1. Create the project
mkdir office-opc-ua-server npm init -y
2. Install the dependencies
npm install node-opcua mongodb –save
3. Create the .env file with the following variables and fill them properly
MONGO_URL=
DB_NAME=
COLLECTION_NAME=
4. Create a file named index.js with the following content
require('dotenv').config();

const opcua = require('node-opcua');
const { MongoClient } = require('mongodb');

const mongoUrl = process.env.MONGO_URL;
const dbName = process.env.DB_NAME;
const collectionName = process.env.COLLECTION_NAME;

(async () => {
  // Initialize MongoDB client and connect
  const client = new MongoClient(mongoUrl);
  await client.connect();
  console.log('Connected to MongoDB.');
  const db = client.db(dbName);
  const collection = db.collection(collectionName);

  // Initialize OPC UA server
  const server = new opcua.OPCUAServer({
    port: 4840,
    resourcePath: '/UA/MyLittleServer',
    maxConnections: 20,
  });

  await server.initialize();

  const addressSpace = server.engine.addressSpace;
  const namespace = addressSpace.getOwnNamespace();

  // Add a new object to the server
  const device = namespace.addObject({
    organizedBy: addressSpace.rootFolder.objects,
    browseName: 'Arduino',
  });

  // Add a variable that represents the LuxValue
  namespace.addVariable({
    componentOf: device,
    nodeId: 'ns=1;s=the.node.identifier',
    browseName: 'LuxValue',
    dataType: 'Double',
    value: {
      get: () => new opcua.Variant({ dataType: opcua.DataType.Double, value: 0 }),
      set: async (variant) => {
        const luxValue = variant.value;
        try {
          await collection.insertOne({
            nodeId: 'ns=1;s=the.node.identifier',
            luxValue: luxValue,
            timestamp: new Date(),
          });
          console.log('New Lux value inserted into MongoDB.');
        } catch (error) {
          console.error('Error updating MongoDB:', error);
        }
        return opcua.StatusCodes.Good;
      },
    },
  });

  await server.start();
  console.log(`Server is now listening on port ${server.endpoints[0].port}...`);

  process.on('SIGINT', async () => {
    await client.close();
    console.log('Disconnected from MongoDB.');
    process.exit(0);
  });
})();
5. From inside the project folder run:
node index.js
It should be up in a few seconds, and showing the message:
Server is now listening on port 4840
Now your Arduino should be set!
Client
Now, back to your Raspberry board, you need to setup both your Client and servers.
1. Create the project
mkdir office-opc-ua-client npm init -y
2. Install the dependencies
npm install node-opcua serialport @serialport/parser-readline
3. Create a file named index.js with the following content
const { OPCUAClient, DataType } = require('node-opcua');
const { SerialPort } = require('serialport');
const { ReadlineParser } = require('@serialport/parser-readline');

// Server configuration
const opcuaConfig = {
  endpointUrl: 'opc.tcp://localhost:4840',
  nodeId: 'ns=1;s=the.node.identifier',
};

const serialPortConfig = {
  path: '/dev/ttyUSB0', // Update to match your Arduino's serial port
  baudRate: 9600, // Match this to your Arduino's configured baud rate
};

const port = new SerialPort(serialPortConfig);
const parser = port.pipe(new ReadlineParser({ delimiter: '\n' }));

async function writeToOPCUAServer(value) {
  const client = OPCUAClient.create({ endpointMustExist: false });

  try {
    await client.connect(opcuaConfig.endpointUrl);
    console.log('Connected to the OPC UA server.');

    const session = await client.createSession();
    console.log('OPC UA session created.');

    const statusCode = await session.writeSingleNode(opcuaConfig.nodeId, {
      dataType: DataType.Double,
      value: value,
    });

    console.log(`Write operation status code:`, statusCode.toString());

    await session.close();
    await client.disconnect();
    console.log('Disconnected from the OPC UA server.');
  } catch (error) {
    console.error('Failed to write to OPC UA server:', error);
  }
}

// Event listener for data received from the Arduino through the serial port
parser.on('data', (data) => {
  console.log(`Data received from Arduino: ${data}`);

  // Regular expression to extract the Lux value
  const luxPattern = /Lux: (d+(.d+)?)/;
  const matches = data.match(luxPattern);

  if (matches && matches.length > 1) {
    // Convert the extracted string to a floating-point number
    const luxValue = parseFloat(matches[1]);

    // Send the parsed Lux value to the OPC UA server
    if (!isNaN(luxValue)) {
      console.log(`Parsed Lux Value: ${luxValue}`);
      writeToOPCUAServer(luxValue).catch(console.error);
    }
  } else {
    console.error('Failed to parse Lux value from data.');
  }
});

console.log('OPC UA Arduino client initialized and running.');
4. From inside the project folder run:
node index.js
It should be up in a few seconds, and showing the message:
Server is now listening on port 4840
Data Visualization
Now the last, but not least important part, visualizing the data. Because we are using MongoAtlas, the easiest path to see this data live is by using MongoAtlas Charts.
- Create a chart
- Select the Chart Type as Continuous Area
- Set the X axis as the timestamp
- Set the Y axis as the luxValue
It should look like this one here
Now you have an integration between your Arduino and MongoDB! You can use this flow for any other sensor you want, like temperature, humidity, and so on!